Free tool · AI photo enhancer
Free AI photo enhancer: make a photo sharper, no sign-up
Upload a slightly blurry photo and download a sharper one. AI Enhance is free for 2 photos a day and takes about 11 seconds.
No sign-up
Drag your image here, or click to browse
JPG · PNG · WebP up to 10MB
Select Mode
Make a photo sharper in 3 steps
All three steps take under 30 seconds per photo.
- Upload: drag in a JPG, PNG or WebP file up to 10 MB, or click to choose one. An iPhone HEIC photo needs converting to JPG first, with the image converter.
- Pick a mode: AI Enhance (2 photos a day, about 11 seconds) or Basic Sharpen (instant).
- Download: AI Enhance gives a PNG file. Basic Sharpen gives a JPG file, or a PNG if your photo has a transparent background.
How AI Enhance and Basic Sharpen differ
Both modes sharpen what is already in the photo, and in our tests neither wrote a new face or changed large print on a label; at 2× very small print (in our test, about 5 pixels tall) can change shape. AI Enhance makes the edges a little crisper than Basic Sharpen does and takes about 11 seconds. Basic Sharpen is instant. On the very blurry test photo, both left most of the blur in place. This table comes from our own tests on 29 September 2026.
| AI Enhance | Basic Sharpen | |
|---|---|---|
| Free per day | 2 photos | No daily limit; it does not use up the 2 AI photos |
| Time we measured | About 11 seconds (4 runs) | About 0.2 seconds (2 runs) |
| What it does | Sharpens the edges already in the photo; wrote no new faces in our tests; at 2× very small print can change shape, and fine texture came out smoother in our test | Makes edges crisper at once; writes no new letters or faces |
| Size you get | At 1× the same size (a 480 × 680 photo came back 480 × 680); with 2× on, twice the size (a 600 × 600 test image came back 1200 × 1200) | Same as before (480 × 680 came back 480 × 680) |
| File you get | PNG (a 77 KB photo became 752 KB) | JPG (a 77 KB photo became 54 KB); a photo with a transparent background comes back a PNG with the same transparent area (a 3.7 KB test image became 7.3 KB) |
| Best for | A product photo that still shows some detail but is not crisp, such as missed focus or a shaky hand, and a small photo you want twice as large | A slightly soft photo you want at once |
How much sharper does AI Enhance make a real blurry photo?
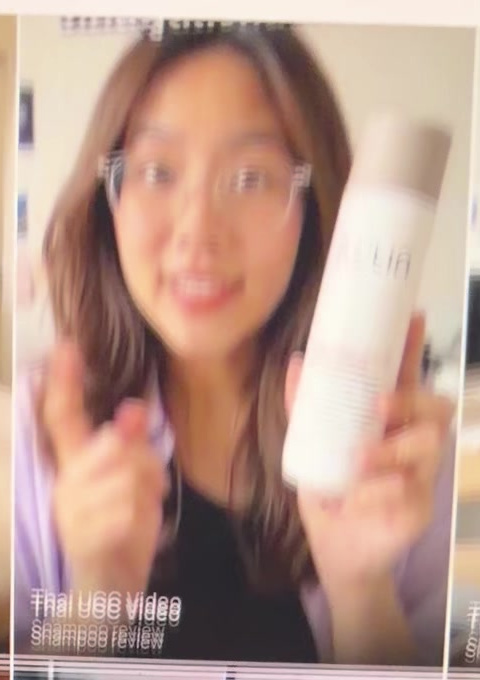
On the very blurry test photo, the result is the same picture with slightly crisper edges. The face, hands and hair are not redrawn: the eyes did not get wider and the lips did not get redder. The label stays a soft ghost, and no new letters appeared. The caption at the bottom, a smeared double image, is still unreadable. The tool does not bring back text the camera did not capture (see the next heading).
Our test photo is a still from a video we shot ourselves on an iPhone. It shows a laptop screen playing a shampoo review video made in GenLabs. We only cropped it to 480 × 680 pixels. We did not blur it: it is as soft as it was shot. We ran it through AI Enhance. The result was 480 × 680 pixels, the same size, in 12 seconds.
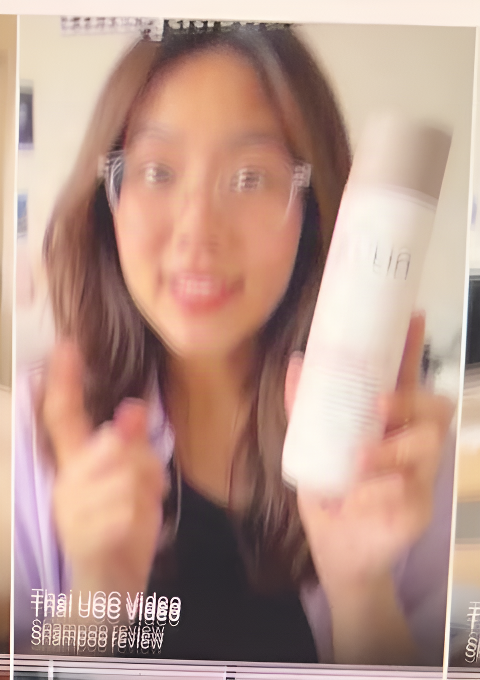
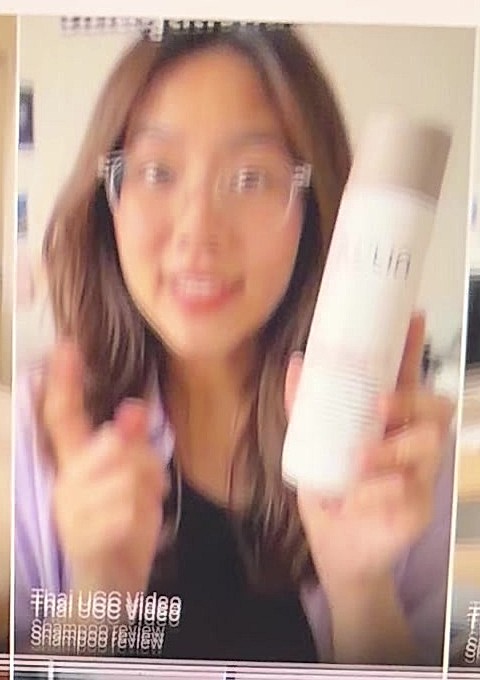
Basic Sharpen on the same photo took about 0.2 seconds and gave a 54 KB JPG at the same 480 × 680 size. The edges got slightly crisper (a little less than with AI Enhance), the face and the text stayed blurry, and no new letters appeared.
Will the text on a product label match the real one?
Print that is big enough to read clearly stays the same, and print that was not readable stays unreadable, because the tool cannot bring back text the camera did not capture. Very small print in the photo you put in (in our test, about 5 pixels tall) can change shape at 2×. See the test on the image upscaler page. In our test the label on the bottle in the blurry photo stayed the same soft ghost as in the photo we sent in, and no new letters appeared. We sent the same photo twice and got the identical file.
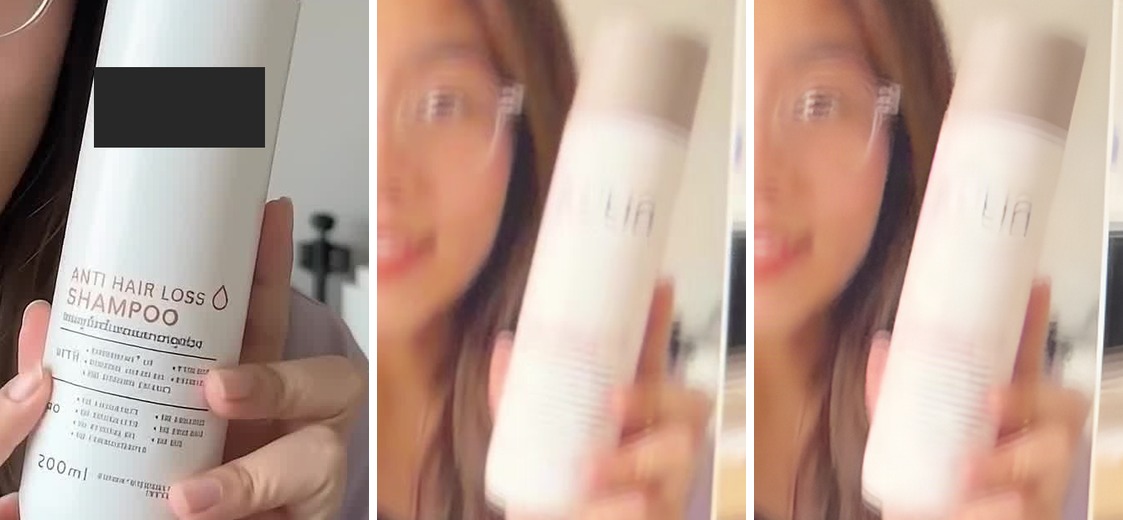
We compared the result with the original video made in GenLabs, letter by letter.
On a sharper frame of the same video (1080 × 1920 pixels), after AI Enhance the words ANTI HAIR LOSS SHAMPOO and 200ml on the label, large print for this frame, stayed the same letters, and the face stayed the same person with the same expression, the skin a little smoother. With 2× on, small print that was already unreadable looks sharper but is still unreadable, and very small print that was readable can change shape (in our test of a small photo, print about 5 pixels tall). See the test on the image upscaler page.
Before you use a sharpened photo, check these against the real product:
- Every letter of the brand name and product name
- The volume or weight, such as 200 ml
- Any Thai text on the label, including vowels and tone marks
- Small print such as ingredients and expiry dates
If the label matters, shoot a sharp photo from the start (see heading 7). The tool cannot bring back letters the camera did not capture. The GenLabs site asks you to check Thai text and product details before you use any image.
Which photos suit this tool, and which do not
Use it on photos that still show some detail but are not crisp because of missed focus or a shaky hand. Letters on a label that are big enough to read clearly stay the same letters. Do not expect it to bring back text too blurred to read, or a face too blurred to make out.
- Works: a blurry photo shot on a phone, and a small photo you want twice as large (with the 2× option on, the picture comes back twice as large: a 600 × 600 test image came back 1200 × 1200).
- Take care: photos where the small print on a label is already unreadable, including Thai text, and photos of people who are very blurred, because the tool does not recover what the camera did not capture. Small print stays unreadable, and a blurred face stays blurred. In our test the face and the label stayed blurry, with no new letters and no new face.
- Does not: let you pick a size such as 4K. It only has 2× on or off, which makes the width and the height twice as large (see FAQ 5).
After sharpening, do I need to shrink the file before I list it?
Sometimes, because the file from AI Enhance is a PNG and much bigger: a 77 KB photo became 752 KB. With 2× on, the file is bigger again (our 600 × 600 test image came back as 157 KB at 1× and 501 KB at 2×). Shops set a file limit. Shopee takes JPEG, JPG or PNG up to 2 MB, and a product photo must be at least 500 × 500 pixels. Lazada takes jpg or png up to 3 MB. If your file is too big, convert it to JPG first with the GenLabs image converter, then shrink it with the image compressor (a PNG photo shrinks little there).
The order we suggest: sharpen first, then cut out the background, resize and shrink the file, with the file size last, because the PNG from AI Enhance is bigger. AI Enhance keeps a transparent background. We sent it a transparent PNG made for the test, and at 1× and at 2× the result came back with the same transparent area. Basic Sharpen keeps it too: the file comes back as a PNG with the same transparent area (a 600 × 600 test image came back 600 × 600).
Sources (read on 29 September 2026):
- Shopee, file up to 2MB, JPEG/JPG/PNG: https://seller.shopee.co.th/edu/article/6985 (page dated 19-09-2024)
- Shopee, minimum 500x500 pixels: https://seller.shopee.co.th/edu/article/14587 (page dated 20-06-2022)
- Lazada, 3 MB, jpg and png: https://open.lazada.com/apps/doc/doc?nodeId=30715&docId=120947 (Last Updated Jul 19, 2024)
How to shoot a sharp product photo in the first place
Shooting again is faster and safer than fixing it later. These four tips work on any phone.
- Tap the product on the screen, so focus sits on the product and not the background.
- Wipe the camera lens before you shoot.
- Shoot near a window with natural light. In a dark spot the camera keeps the shutter open longer, so the photo shakes more easily.
- Hold the phone with two hands, or lean it on something steady, and face the label toward the camera.
Sharp now. Next, make the product photo help you sell.
A sharp photo is still the photo you took. To get product images, ads and posts ready for your shop and page, send one product photo from your phone to GenLabs and pick a direction. GenLabs writes the prompts and makes the images: a set in 2 minutes, and you write no prompts yourself. Then you can schedule posts to TikTok, Instagram and Facebook from one place.