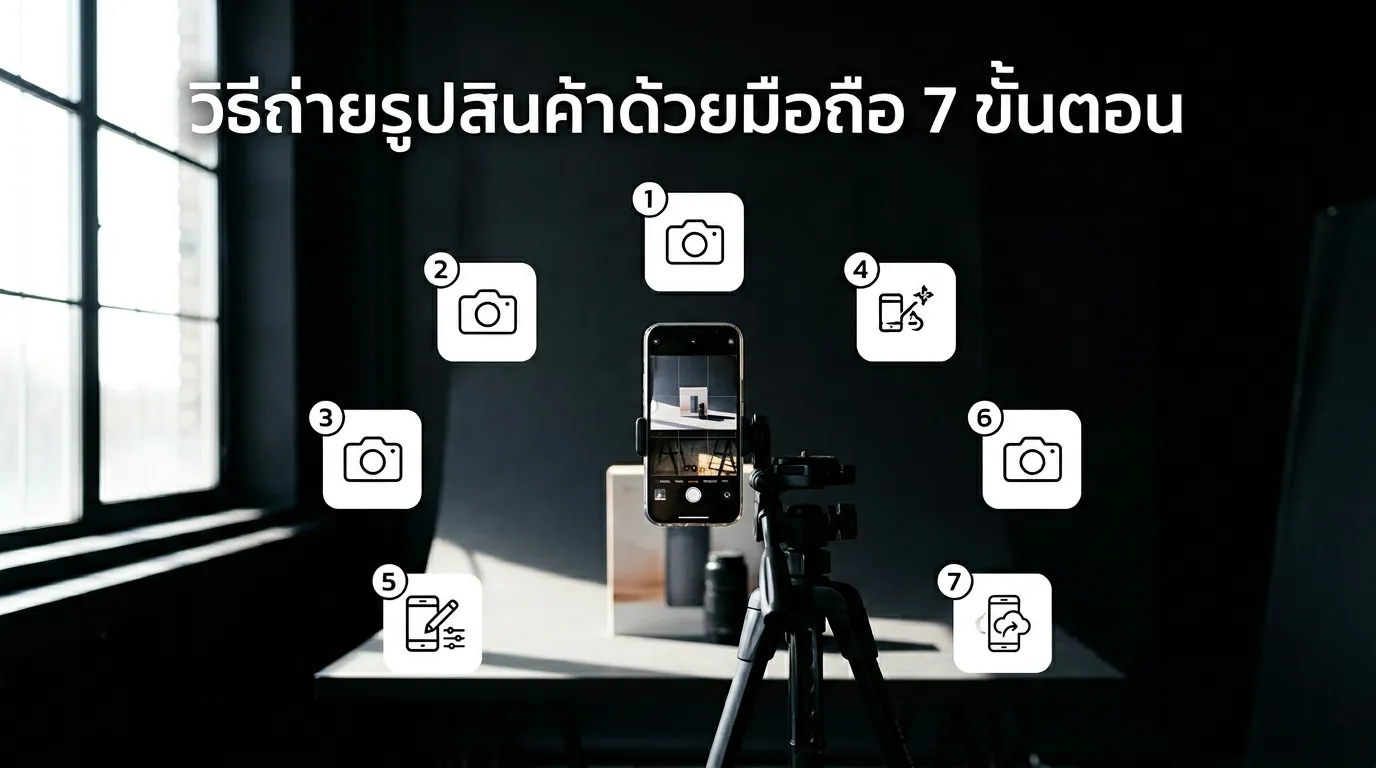
You can take professional-looking product photos with any modern smartphone by following 7 steps: (1) use natural window light from the side, (2) use a clean white or light background, (3) shoot at eye level or 45°, (4) use a tripod or steady surface, (5) take multiple angles, (6) do basic editing, (7) use AI to upgrade to studio quality.
Step 1: Use Natural Light from a Window
Place your product near a window. Light should come from the side, not directly above. Best times: 9–11am or 2–4pm for soft, even light.
Step 2: Use a Clean Background
White poster board, white fabric, or a foam board (100–200 baht). Avoid cluttered backgrounds.
Step 3: Shoot Straight-On or at 45°
Straight-on for general products. 45° for items with height. Top-down for flat lays.
Step 4: Use a Tripod or Steady Surface
Avoid hand-holding. A phone tripod (200–500 baht) or lean against a rice pot works.
Step 5: Take Multiple Angles
Minimum 5 angles per product: front, side, 45°, top-down, and detail close-up.
Step 6: Basic Editing
Adjust brightness, contrast, and crop so the product is centered. Free apps: Snapseed, Lightroom Mobile.
Step 7: Use AI to Upgrade to Studio Quality
A good phone photo + AI = studio-level output. GenLabs transforms phone shots into professional product images with background removal, style selection, and auto-resize in 1 minute. 10 baht per image.
FAQ
Which phones are good enough? iPhone 12+ or mid-range Android (12MP+).
Should I use flash? No. Natural light is better. Flash creates harsh shadows.
Do I need a lightbox? Helpful for small items, but not required. Window light works.
Do I need to edit after shooting? Basic editing helps, but AI tools like GenLabs can upgrade phone shots to studio quality automatically.